

The Deployment Image Servicing and Management Tool User Interface (DISMUI) allows you to modify your Windows Embedded Standard 7 image by using an easy to use graphical user interface. By using DISMUI you can add and/or remove Feature Packages at any time by just selecting the packages. The software will take care of the rest. A dependency check ensures that all needed Feature Packages are selected.
With DISMUI there is no need to use the DISM.exe command line anymore!
UPDATE
DISMUI has been updated to work with the RTM version of Windows Embedded Standard 7.
UPDATE 2
A problem has been fixed which prevented DISMUI to work on other languages than English.
Version History
DISMUI v1.3.1 – Mono Support added
DISMUI v1.4 – Conflict Checking, Baseimage requirements & POSReady 7 CTP1 Support added
DISMUI v1.4.1 – POSReady 7 CTP2 Support added
DISMUI v1.4.2 – POSReady 7 RTM Language Pack support added
DISMUI v1.4.2.1 – ScratchDir handling and Windows PE detection
DISMUI v2.0 – see page for detailed information
DISMUI v3.0 – see page for detailled information
DISMUI v3.0.1 – small bug fixes
How it works
1. Run DISMUI.exe with Administrator permissions.
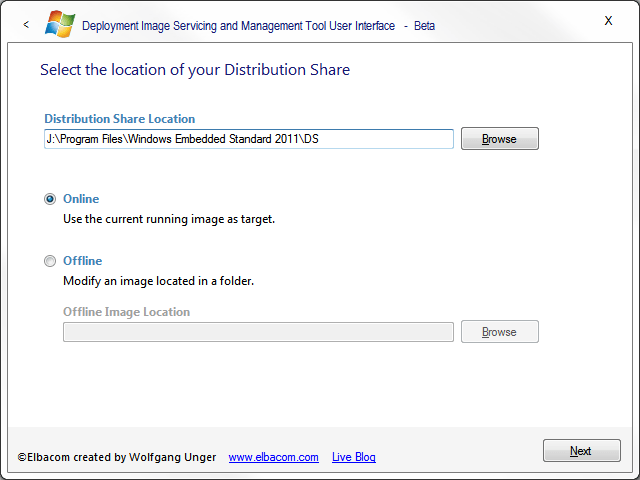
2. Specify the location of the Distribution Share.
3. Specify the target image
– Online: This will service the current running Windows version
– Offline: To service a Windows installation that is currently not running select the offline option and specify the image path.
4. Click Next.
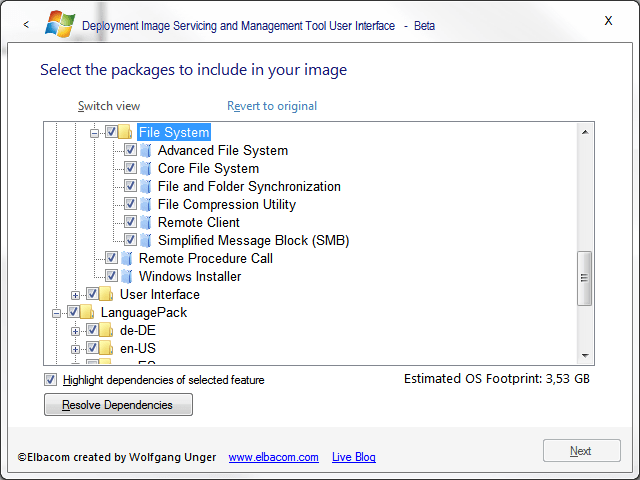
DISMUI will now retrieve all available Feature Packages and preselects all installed Packages.
5. Select all the Feature Packages you want to install and unselect the Feature Packages which you want to remove.
If “Highlight dependencies of selected Feature” is checked then DISMUI will highlight
all the needed dependencies of the current selected Feature Pack.
6. Click Resolve Dependencies.
7. Click Next.
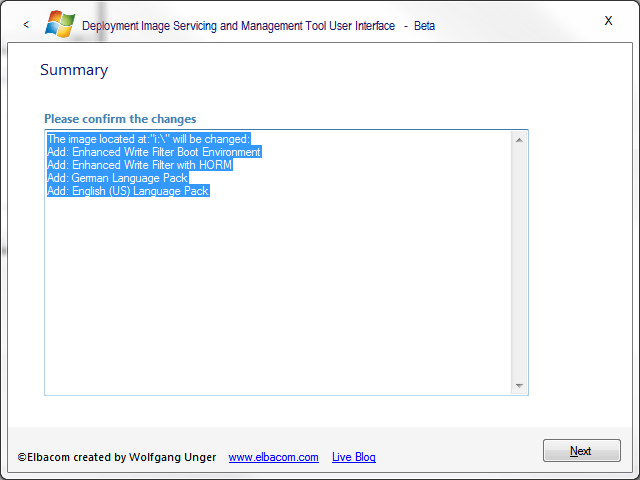
8. Please review all changes.
Important: DISMUI will not check for conflicts!
Note: DISMUI will always reapply all language packs if Feature Packages change.
This will ensure that all needed language files are in the image.
9. Click Next.
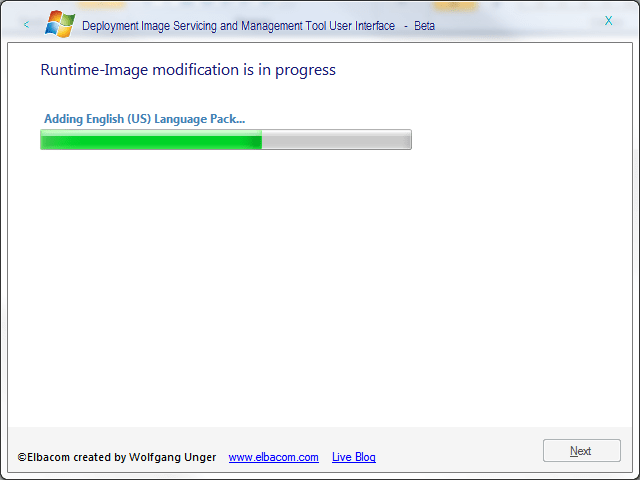
10. Finished. If you changed your image online please reboot your system.
Installation of DISMUI
- Extract DISMUI to any folder
- Download WiX from http://sourceforge.net/projects/wix/
- Install WiX
- Goto the installation folder of WiX and copy the following files from the SDK folder (Program Files\Windows Installer XML v3\SDK) to the DISMUI folder:
- Microsoft.Deployment.Compression.dll
- Microsoft.Deployment.Compression.Cab.dll
- Run DISMUI.exe
Additional Notes
The program is provided as is without any guarantees or warranty.
Although the author has attempted to find and correct any bugs in the software program, the author is not responsible for any damage or losses of any kind caused by the use or misuse of the program.
The author is under no obligation to provide support, service, corrections, or upgrades to the free software program.
The current version is still Beta but works already without any problems.
Author: Wolfgang Unger